Basic scanning
|
|
|
|
Basic Scanning
This is the normal and usual procedure for scanning originals.
This is a basic scanning method for USB-connected machine.
|
|
|
|
-
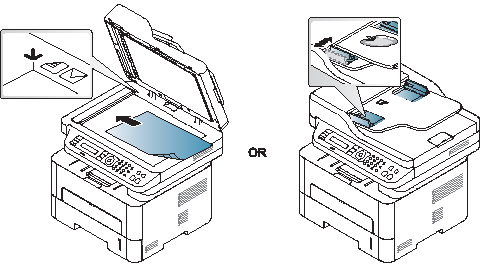
Place a single document face down on the document glass, or load the documents face up into the document feeder (see Loading originals).
-
Select
 () > > on the
control panel.
() > > on the
control panel.![[Note]](../../common/icon_note.png)
If you see message, check the port connection, or select in Samsung Easy Printer Manager > > (see Setting the scan settings in the computer).
-
Select the scan destination you want and press .
Default setting is .
-
You can create and save the frequently used settings as a profile list. Also you can add and delete the profile and save each profile to a different path.
-
To change the Samsung Easy Printer Manager > > .
-
-
Select the option you want and press .
-
Scanning begins.
Scanned image is saved in computer’s Documents\Scan folder. The saved folder may differ, depending on your operating system or the application you are using.